

Heat Pump Installation in San Francisco: Best Practices Every Homeowner Should Know
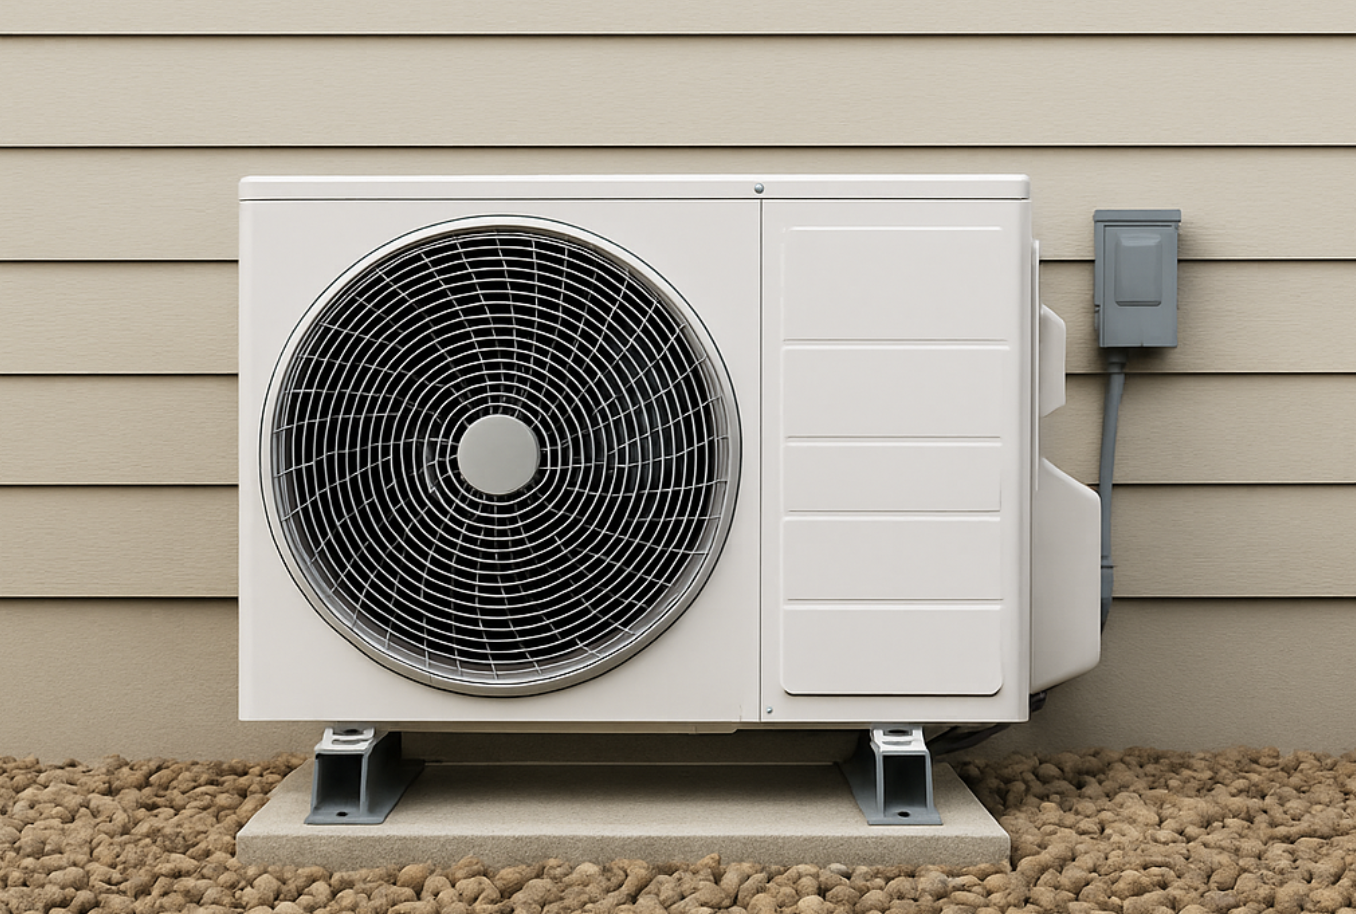
If you’re considering a heat pump installation in San Francisco, here’s a reality check: even the most expensive heat pump can fail early if the installation is sloppy. In HVAC, equipment quality matters, but installation quality matters more.
San Francisco homes—especially in neighborhoods like Potrero Hill and Russian Hill—often blend older building structures with modern mechanical systems. That mix makes precision installation critical for both performance and longevity.
1. Start with the Foundation: Deep Vacuuming and Clean Lines
When a heat pump is installed, the refrigerant lines need to be completely free of air, moisture, and debris.
Best Practice: Pull a deep vacuum to at least 500 microns (many pros aim for 300 or lower) and confirm it holds.
Why It Matters: Moisture in the lines can freeze inside expansion valves, cause corrosion, and lead to premature failure.

2. Proper Brazing: Protecting the System from the Start
Brazing joins copper refrigerant lines using high heat, and it’s a step where shortcuts are costly.
Best Practice: Always use nitrogen purge during brazing to prevent oxidation inside the pipes.
Why It Matters: Without nitrogen, scale can form inside the tubing, eventually breaking loose and clogging the metering device.
3. Drainage: Keeping Water Out of Trouble
Even in San Francisco’s mild climate, condensation management is critical.
Best Practice: Slope drain lines correctly, add traps where needed, and ensure termination points follow local code.
Why It Matters: Poor drainage can lead to mold, water damage, or system shutdowns when float switches trip.

4. Don’t Ignore Static Pressure
Static pressure is like your system’s blood pressure—too high, and it strains to function.
Best Practice: Measure total external static pressure (TESP) before and after installation, staying within manufacturer limits (often under 0.5” WC).
Why It Matters: Excessive static pressure reduces airflow, lowers efficiency, and shortens equipment life.
5. Brand vs. Installation Quality
Yes, brand reputation counts. But a mid-tier unit installed perfectly will often outperform a premium model installed poorly.
Case in Point — Potrero Hill
A homeowner had a Mitsubishi SUZ heat pump installation in Potrero Hill done by a contractor who skipped key steps:
Vacuum pulled for only a few minutes (moisture remained in the system)
No nitrogen purge during brazing
Duct system left with excessive static pressure
For the first year, the system ran fine. By month 18, the reversing valve began sticking, efficiency dropped, and the compressor eventually failed—well before its expected lifespan.
Case in Point — Russian Hill
A different homeowner opted for a Midea heat pump installation in Russian Hill—a brand less recognized than Mitsubishi. But the installation followed best practices to the letter:
Deep vacuum to 300 microns and held for 30 minutes
Full nitrogen purge during brazing
Duct system tested and balanced to meet airflow specs
Drainage line sloped and secured properly
Five years later, the Midea system is still running efficiently with no service calls beyond routine maintenance.
The difference wasn’t the name on the box—it was the attention to detail during installation.
6. Implications of Improper Installations
When shortcuts are taken, homeowners can expect:
Higher energy bills
More frequent repairs
Shorter system lifespan
Uneven heating and cooling
Possible voided warranties
7. Choosing the Right Equipment for San Francisco’s Mild Climate
One advantage of living here is the relatively stable, mild weather. Winter temperatures in most neighborhoods rarely drop low enough to require auxiliary heat sources like electric heat strips or specialized “hyper heat” models designed for sub-freezing conditions.
When planning a heat pump installation in San Francisco, this means you can often avoid the extra cost of equipment built for extreme cold. In much colder regions, auxiliary heat ensures a home stays warm when outdoor temperatures dip below a heat pump’s efficient operating range. In San Francisco, those conditions are rare, so investing in them doesn’t usually deliver a return.
Why This Matters: Skipping unnecessary auxiliary heating capacity can save thousands on installation while still delivering year-round comfort.
Practical Tip: Focus on a standard high-efficiency heat pump paired with a properly sized air handler and well-sealed ductwork. It’s the most efficient choice for our climate and home styles.
Key Takeaway
A proper heat pump installation in San Francisco is a mix of precision, testing, and adapting to the home’s layout. Whether it’s Potrero Hill, Russian Hill, or anywhere else in the city, cutting corners today can cost you thousands tomorrow.
Quick Homeowner Checklist
Vacuum to ≤ 500 microns (verify with a micron gauge)
Nitrogen purge during all brazing
Static pressure measured before and after install
Proper drainage slope and termination
Ductwork sized for manufacturer airflow requirements
Refrigerant charge matched to manufacturer specs